
I thought that I might post my latest "Project" here on my blog. Although, I usually post my paper crafts. Cards, and other Papery projects, but this time.... We are working with Paper and Wood.
I'm talking about a

The Story goes like this....
My daughter absolutely LOVES her pile of stuffed animals.
So much so, that she was quickly losing her bed and every night it became a big job just to find a place for her to sleep. She insisted on keeping them with her.
We tried shelves, they always ended up back in her bed.
So the brain storming began...
I went to Pinterest and started searching for ideas for keeping the fluffy little creatures near by
but still out of the way so that the poor girl could actually have room for herself in her bed.
I came across the cutest idea, the "Animal Zoo"
I found a few different versions, all of which were not really done the way that I would have done them.
So I decided to take the general idea, and make it the way that I thought it best.
This was my Pinterest Inspiration and my "Starting Out" point.

The idea of this was fabulous, but I knew when I read the "instructions" for that particular storage zoo, I would definitely need to do some modifications.
Anything that goes into my daughters room absolutely MUST BE "Isabella Proof"
She is a 3 year old little monster, Smarter than her own good. I knew that this would be something
that she would most likely climb into, or attempt to climb up. I needed something that was sturdy and safe.
Before ever starting the project, I put hours of time into creating just the right "Zoo" theme for my project when it was finished.
I created the most adorable zoo animals to be applied to the wood.
They can now be used as coloring pages for my daughter, or digital stamps for making cards etc.

I printed and then colored my images using Copic Markers. Then carefully cut them out.
I thought, since I had spent all that time creating these adorable images, then why not make them available for anyone else who may want to use them.
You can find them individually, or the full set in my Etsy Shop.
Cut-it-Out Paper Crafts

With that part complete, I couldn't wait to get started.
I started by measuring the space that I would be placing this zoo.
I wanted a perfect fit for her small room.
I opted for a 6 foot tall zoo.
So the plans began....
First the supplies to build the frame.
I used boards that were 1" x 4" x 6'
I bought 9 of them.
(I cut them down the middle, Giving me 1"x2"x6' boards)
Why didn't I just buy the right size to begin with? Price... The price for the 1"x4" was cheaper. I saved myself about $10.00 in wood costs by cutting them down the middle lengthwise.
So now, I have a bunch of 1"x2"x6' boards - Let the measuring and cutting begin.
4 - Boards left at 6 feet long
6 - pieces cut at 24" long
6 - pieces cut at 36" long
Once all of the pieces were cut, I sanded the wood making it nice and smooth.
Assemble the 3 rectangles,
Using a bit of Wood Glue, and Wood Screws,

After I had all 3 rectangles put together, it was time to add the sides.
(The 4 pieces that were left long.)

Now it was time to paint.
I decided NOT to add a backing on this Zoo, and the addition of molding is optional as well.
I didn't want that either, since I wanted to keep this as light weight as possible.
My little monkey already is showing the big interest of needing to climb in there.
My plan was to keep it as simple, light weight, and safe as possible.
I painted this frame using what I had on hand. A flat white ceiling paint.
(It took a few coats, but it worked)
The ideal paint for coverage probably would have been spray paint.
But I wasn't going to go buy anything that I didn't really need to buy.
I wasn't concerned about the flat finish of ceiling paint, because I knew that I would be applying Glossy Mod Podge over the top anyway. You'll see why in just a moment.
While I waited for my paint to dry, I got to work on the decorative plaque for the front of the Zoo.
I had stopped at Lowes, and picked up a thin board that was already cut to size.
1/2 inch thick and measuring 4 inches tall, and 3 feet long.
I added a quick coat of basic white acrylic craft paint, and allowed it to dry.
(It didn't take long)
I then began placing my colored pictures, and figuring out what I wanted to do.
I DO NOT PAINT PICTURES. I CAN'T Paint pictures... LOL
I went with what I know best, and that was using my Copic Markers.
(Can't live without them)
I proceeded to draw my grass, trees, and flowering vines, using several different shades for contrast. This gave it such a realistic effect.
I definitely could never have done it with paint. Not to mention having to buy several different shades in each color, and then having to wait for each shade to dry a bit before adding another shade. No, that's not for me. I will stick with my Copic Markers.

Once that was done, I used a small foam paint roller, and put 2 even coats of Glossy Mod Podge over it, (allowing the coats to dry a bit in between)

Once completely dry, it was time to place the plaque on the front of the "Zoo"
I did NOT want to put nails or screws through my board, or the scene that I had created.
My husband insisted that I couldn't just glue it on. He said it will never hold.
Well... He was wrong.
I used Gorilla Wood Glue. Put it along the bottom edge of my plaque, and then on the back where it would be touching the frame. I then used 4 clamps, and left it for about an hour.
It was really solid. Who says you can't use only glue?
Next it was time to string the "Bars"
This is where my ideas and the original plans are COMPLETELY DIFFERENT.
The original plan that I was sort of following, said to use screws and washers to install the bungee cord. First of all, the bungee cord that I bought was 1/4 inch thick (about the size of your average clothes line rope)
There was NO WAY that would easily and smoothly tuck under a washer and be tight enough and smooth enough not to come loose.
My brainstorming is wonderful sometimes.
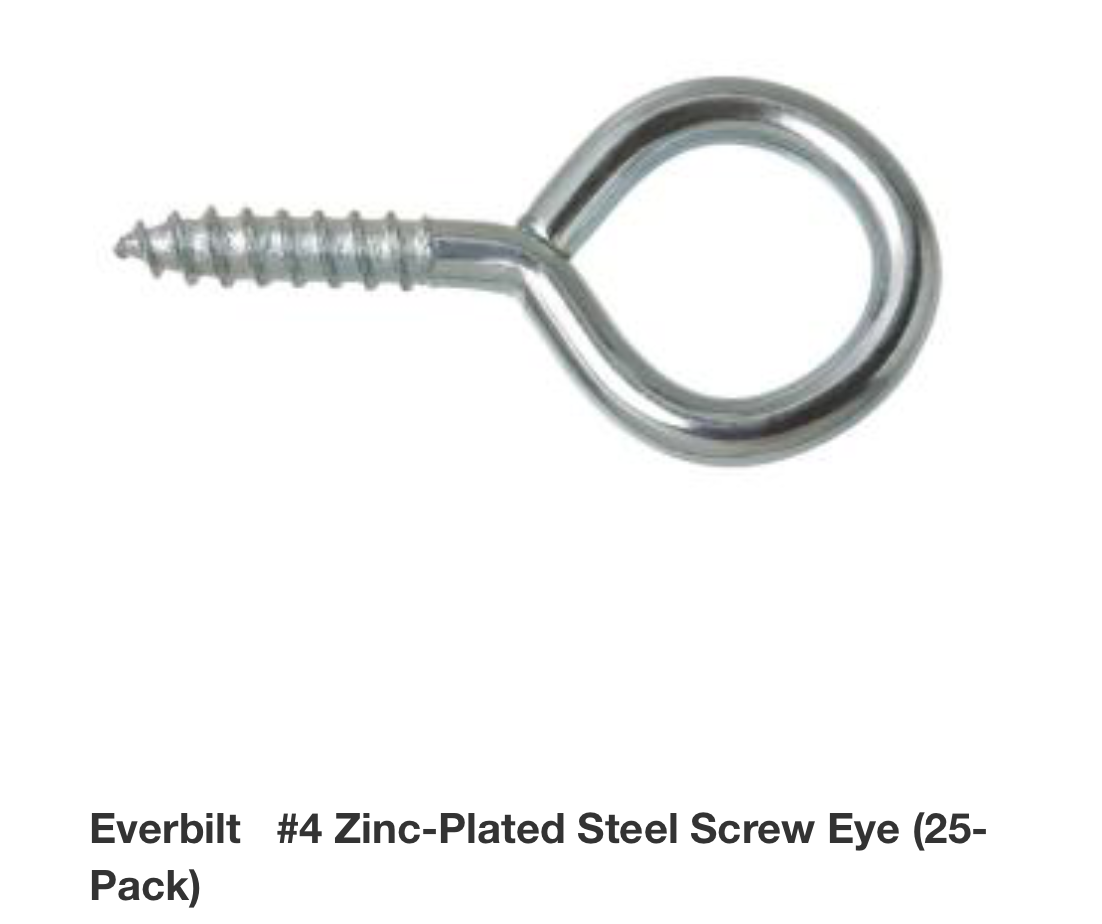
I thought that using eye screws would be a better solution.
So this is what I used.

I had purchased a 100 foot roll of 1/4 inch shock cord (also called bungee cord)
and then went to Walmart and bought a couple of packages of the 1/4 inch eye screws that look like this.
I calculated that I would need 6 cords on each side, and 7 cords across the front.
Meaning I would then need a total of 57 of these eye screws.
Installing these was the most tedious part of the whole job.
Once I did that, my hands were tired, my knees were tired of being on the floor, and I called for back up. LOL
I got my husband to install the cording.
Each piece of bungee was cut to 53.5 inches.
This size seemed short, but....it was stretched to fit, still leaving some stretching room for taking stuffed animals in and out of the zoo.
(I did NOT need the full 100 feet of cord, I still have about 20 feet left over)
The reason for stretching to this size is because I wanted safety without losing the effect of the bungee stretch. Knowing how my daughter is
(yes, she uses Murphy's law to the maximum every day)
"If it will...It Will"
If there is a way to get hurt, she will find it for sure. I didn't want any slack in the bungee cord that she could possibly get wrapped in, but still wanted enough to be able to stretch to pull toys out of.
This is actually just tight enough that you could play it like a guitar and hear sound. lol
bug there is no way you could possibly wrap it around anything, no matter how hard you try to stretch it.
Anyway.... so, a knot was tied at the top of each piece, and then threaded down through the eye screws. Each piece going continuously from top to bottom, and then neatly tied off with another knot.
If you look closely, you can see on the middle frame, where the cording goes perfectly through the eye screws. Yes, this was a much MUCH better idea than using screws and washers, and just tucking cording behind it. All I could picture then is having to constantly fix the cord if it accidentally got pulled out.
Doesn't this look nice and neat?
And definitely will withstand anything that my daughter could do to it. LOL

These cords were put on both sides, and the front. It was time to stand it up, and take a look.
Ahhhhh, I LOVE how it turned out....
Ahhhhh, I LOVE how it turned out....

Now it was time to bring it into my daughters room, and see how we did.
I am so THANKFUL that this is such a light weight item.
and look at that. It Looks GREAT, and it is the absolute perfect fit for where I needed to place it in her room.
I am so THANKFUL that this is such a light weight item.
and look at that. It Looks GREAT, and it is the absolute perfect fit for where I needed to place it in her room.

To think, that I thought she had SOOO many stuffed animals, that she would have it half full by now.
There is a ton of room in there. It's a good thing too, especially since I know that Santa Clause is bringing some of Disneys Dory animals. haha....
There is a ton of room in there. It's a good thing too, especially since I know that Santa Clause is bringing some of Disneys Dory animals. haha....
My mother-in-law and I began placing bets on how long it would take my daughter to climb inside.
I said, "She will be in there before the day is over, I'm sure"
Yep....3 hours... that's all it took....
I said, "She will be in there before the day is over, I'm sure"
Yep....3 hours... that's all it took....

Caught you!!!
She seems to like it in there, although... I told her unless she is a stuffed animal, she is NOT to be inside the Zoo. So far she has listened.
Anyway.... this is one of those Pinterest projects that I made my own modifications to, and thought I would share.
And at last... One for the books, It won't get posted as a "Pinterest Fail"
Seriously, have you ever looked up Pinterest Fails? LOL
I get a kick out of those photos.
Thanks for taking the time to read through all of my jibber jabber.
Enjoy!
Enjoy!

No comments:
Post a Comment